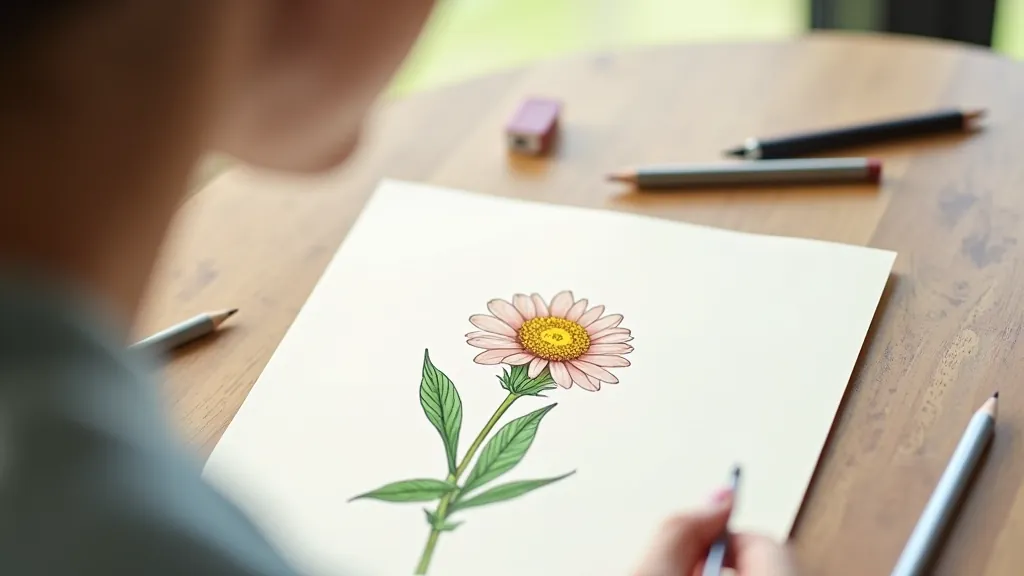
Pencil Sketching Fundamentals for Beginners
Master grip, pressure control, and basic shading. Learn how to hold your pencil like artists do and why it actually matters for your results.
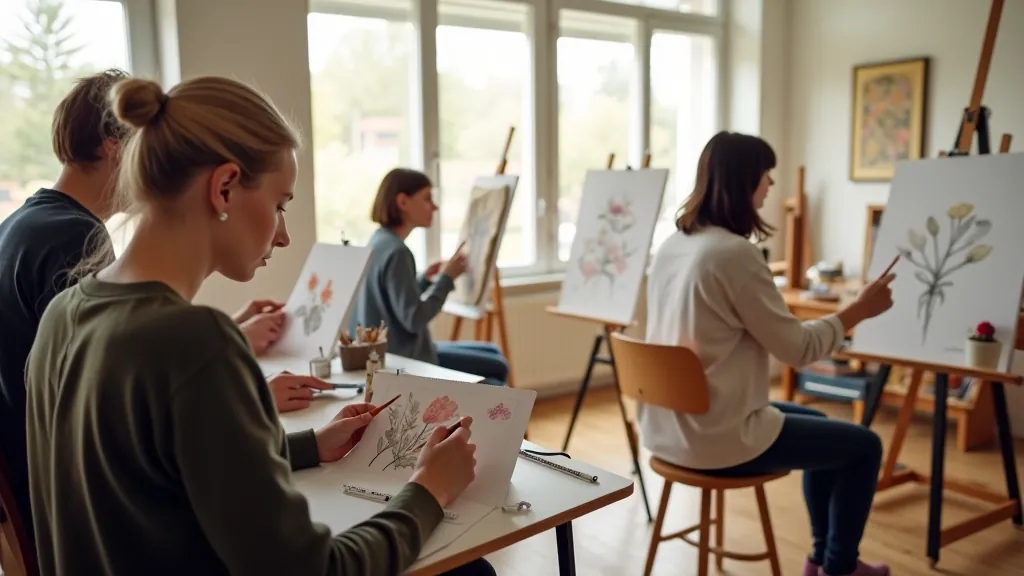
Why the Basics Actually Matter
When you're starting out, it's tempting to jump straight into drawing landscapes or portraits. But here's the thing — if you don't nail the fundamentals first, you'll hit a wall pretty quickly. The way you hold your pencil, how much pressure you apply, and understanding light and shadow aren't boring technicalities. They're the foundation for everything that comes next.
Most beginners don't realize that poor pencil grip leads to hand fatigue, inconsistent lines, and limited control over shading. You'll spend hours practicing, only to find your drawings still look stiff. The good news? Once you fix these fundamentals, improvement happens fast. We're talking weeks, not months.
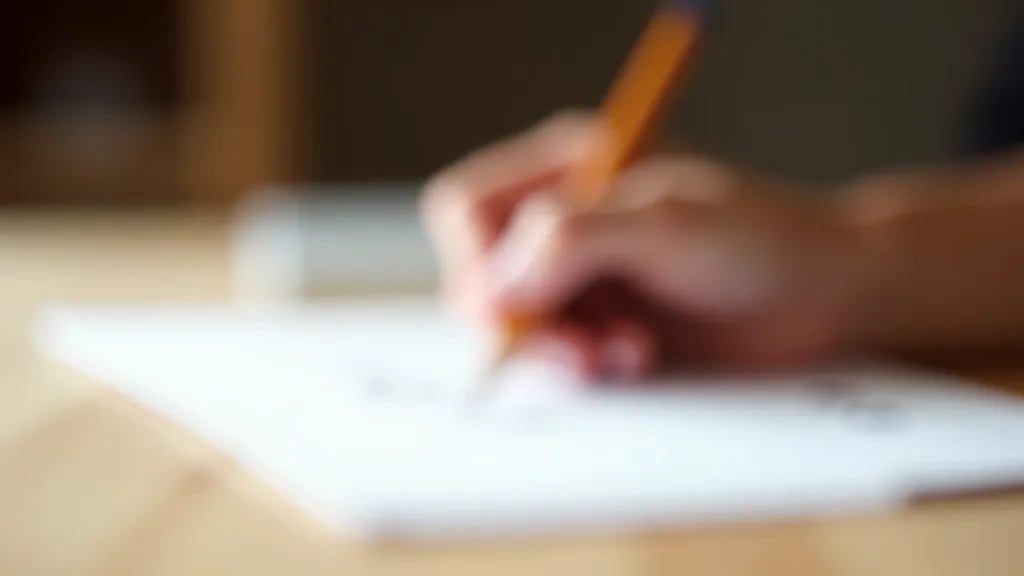
Grip Techniques That Actually Work
There's no single "correct" way to hold a pencil for sketching, but there are definitely better ways. The most common beginner mistake? Gripping too tight. When you squeeze the pencil like you're trying to strangle it, your hand tires out in minutes, and your lines become shaky and uncertain.
The Three Main Grips
- Writing Grip: Like holding a pen, pencil sits at 45°. Best for detailed work and fine lines.
- Overhand Grip: Pencil more horizontal, held above your hand. Great for shading and loose strokes.
- Underhand Grip: Pencil nearly flat, held below. Used for bold shading and blending large areas.
The key is relaxation. Your grip should be firm enough to control the pencil, but loose enough that someone could pull it from your hand without much effort. When you're starting a sketch, use the overhand grip to block out your composition loosely. As you add details, switch to the writing grip. You'll find yourself naturally adjusting as needed.

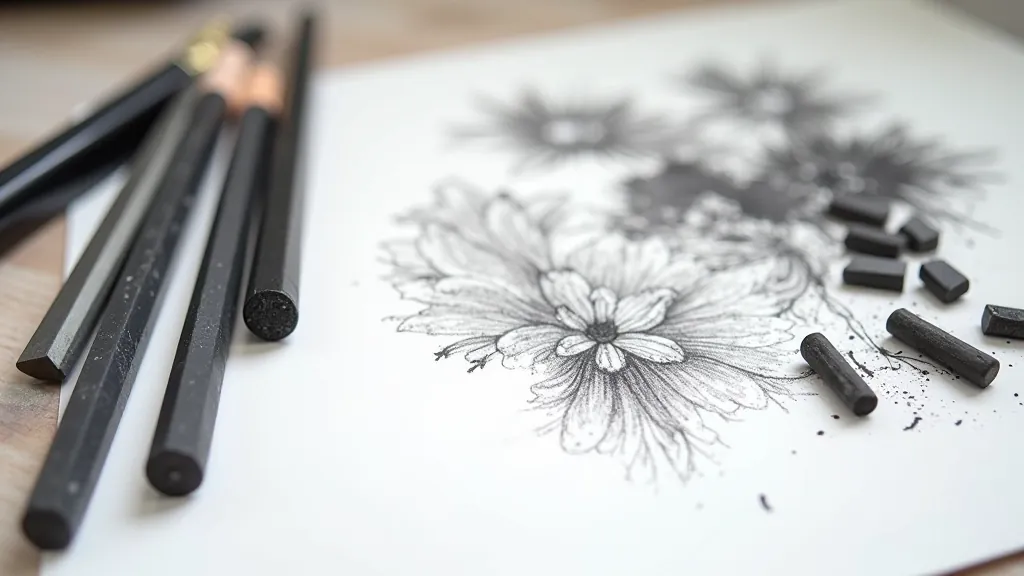
Pressure Control Is Everything
This is where sketching gets interesting. The same pencil can create anything from a barely-visible whisper of a line to a dark, bold mark. The difference? How hard you're pressing. Most beginners either press way too hard or not hard enough, with no middle ground.
Think of pressure on a scale from one to ten. Light sketching work — blocking out composition, initial guidelines — should be around 2 or 3. Medium values for general drawing and definition sit at 5 or 6. Deep shadows and final darks? That's 8 or 9. You rarely need 10 unless you're doing something very deliberate.
Pro tip: Don't apply heavy pressure early on. It's easier to add darker tones than to erase heavy marks. Start light, build up gradually, and you'll have way more control over your final image.
Pay attention to how your hand feels too. If your fingers are tense or your wrist is locked, you're probably pressing harder than you realize. A relaxed hand naturally uses better pressure control. It's not magic — it's just physics.
Educational Note
This guide provides foundational techniques and general information about pencil sketching. Individual results vary based on practice frequency, natural aptitude, and teaching methods. These are established practices used by art instructors, but everyone's learning pace is different. Consider working with a qualified instructor for personalized feedback on your technique.
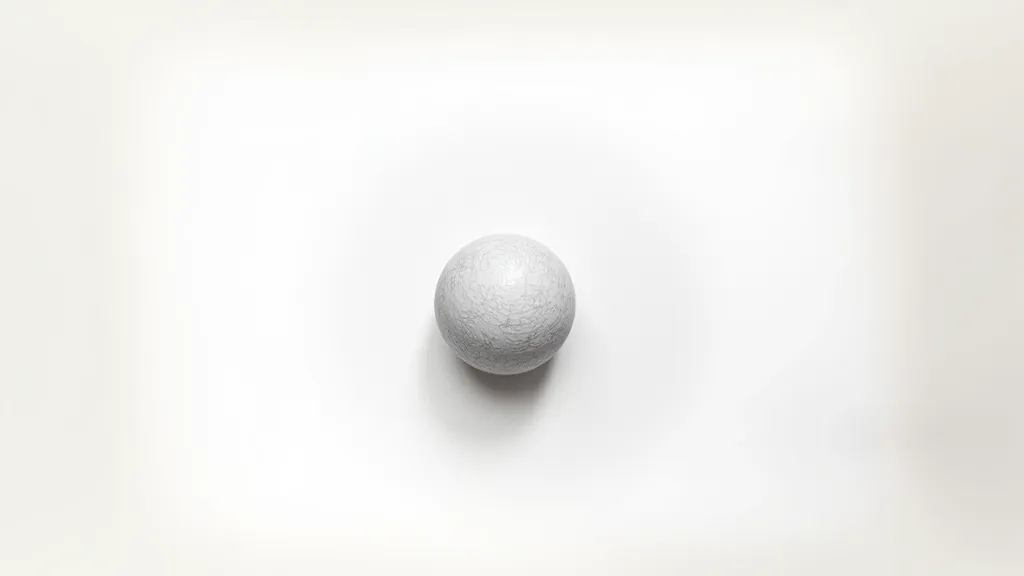
Understanding Light and Shadow
Here's what separates decent sketches from really good ones: proper shading. You don't need fancy blending tools or expensive supplies. A simple understanding of how light works will transform your drawings.
Light comes from a source and hits your subject. The side facing the light is bright. The side facing away is dark. Simple. But here's what beginners miss — there's a transition zone. It's not just bright-then-dark. There are subtle midtones that create the illusion of form and dimension. Without those transitions, drawings look flat and lifeless.
The Core Principle
Establish your light source first. Decide where it's coming from — top-left, front, side, wherever. Then stay consistent. Every shadow, every highlight should follow that single light source. This one decision makes sketches look professional because they obey the laws of physics.
Start by identifying three zones: highlights (brightest), midtones (in between), and shadows (darkest). Don't jump straight to your darkest darks. Build up gradually. You'll develop better control and create more convincing form.
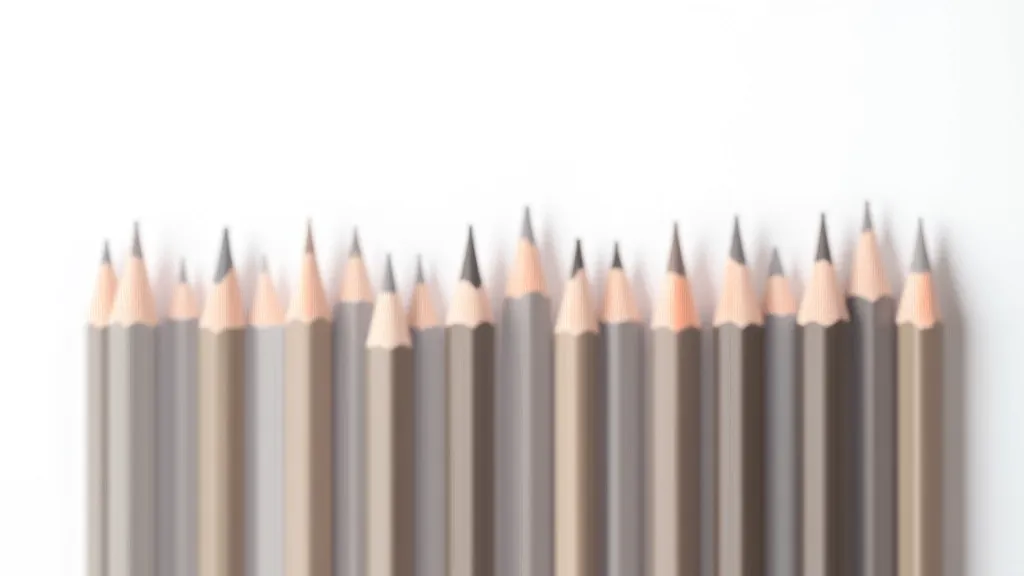
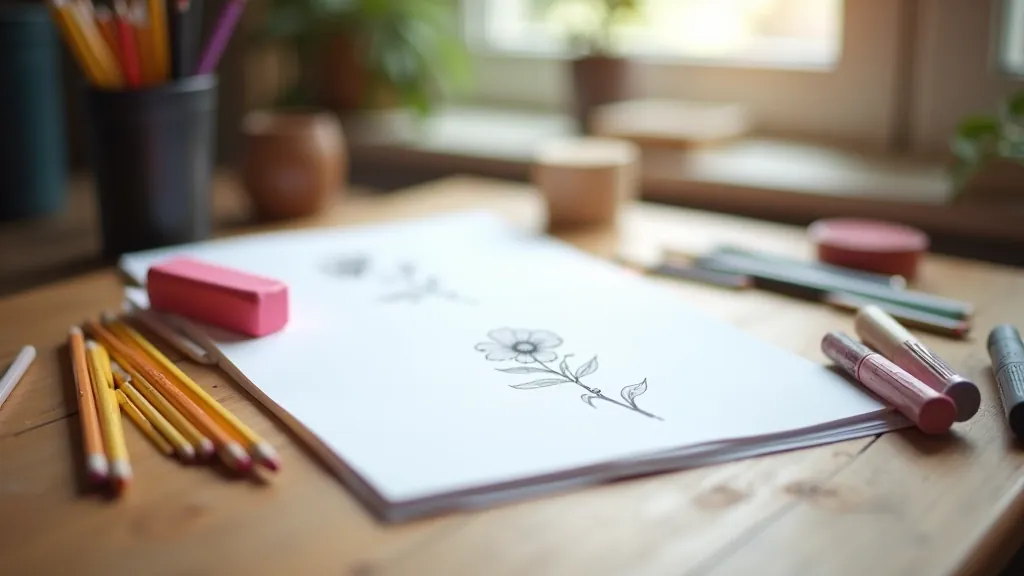
Choosing the Right Pencils
You don't need a massive collection of pencils to get started. Three or four will actually teach you more than a 50-pencil set because you'll focus on technique instead of chasing the perfect tool.
For beginners, grab an HB (middle hardness), a 2B (softer, darker), and a 4B (very soft, dark). That's it. The HB is your workhorse for sketching and general work. The 2B and 4B handle shading and darker tones. Avoid hard pencils like H or 2H — they're meant for technical drawing, not expressive sketching, and they can damage paper if you press too hard.
Paper matters too. Don't use thin notebook paper. Get a sketch pad with paper that's at least 100gsm (or 140lb). Better paper forgives mistakes, erases cleaner, and lets you blend without tearing. You'll actually enjoy drawing more when your materials cooperate.
One good eraser is worth more than you'd think. A kneaded eraser is your friend — it's soft, moldable, and doesn't damage paper. Keep it near your sketching area. When you make a mistake, you won't panic or quit. You'll just erase and keep going.
Start Sketching Today
These fundamentals aren't complicated, but they're powerful. A relaxed grip, thoughtful pressure control, and consistent lighting will immediately improve your sketches. You don't need years of study or natural talent to get results. You need practice with proper technique.
Spend the next week just practicing these basics. Do 15-minute grip exercises. Fill pages with pressure studies. Sketch simple spheres and cubes with proper shading. You'll notice the difference. Your lines will be steadier. Your shading will look more convincing. Your drawings will stop looking flat.
The best part? You've already got everything you need. A pencil, paper, and an eraser. That's genuinely all it takes to start this journey. Everything else is just building on these foundations.
Ready to deepen your skills? Explore related guides below or find beginner-friendly art classes in your area.