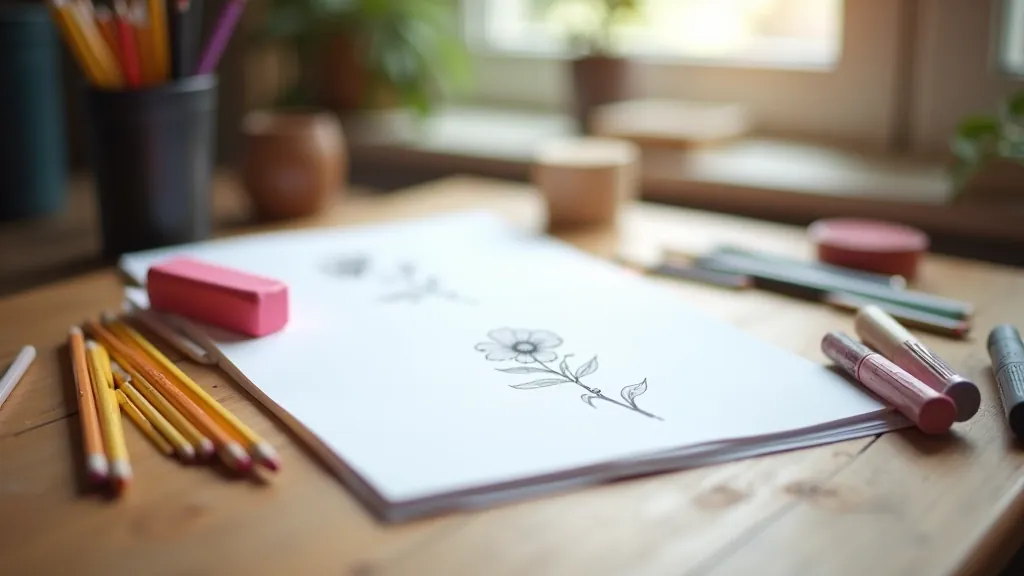
Getting Started with Charcoal Drawing
Explore the range of charcoal types, blending techniques, and how to create depth. Charcoal is forgiving and rewarding for beginners.
Why Charcoal is Perfect for Beginners
Charcoal's the real deal when you're starting out. It's forgiving, responsive, and doesn't require a lot of expensive gear. You'll get visible results within your first few sessions, which keeps the motivation going. Unlike pencils that demand precision and pressure control from day one, charcoal lets you experiment freely. Mistakes? They're easy to fix. Rich blacks and smooth blends? You'll achieve them naturally.
The material itself has been used by artists for centuries, so there's tons of proven techniques to learn from. What makes it especially rewarding for beginners is the immediate visual feedback—you can see depth and dimension appearing on your paper almost instantly.
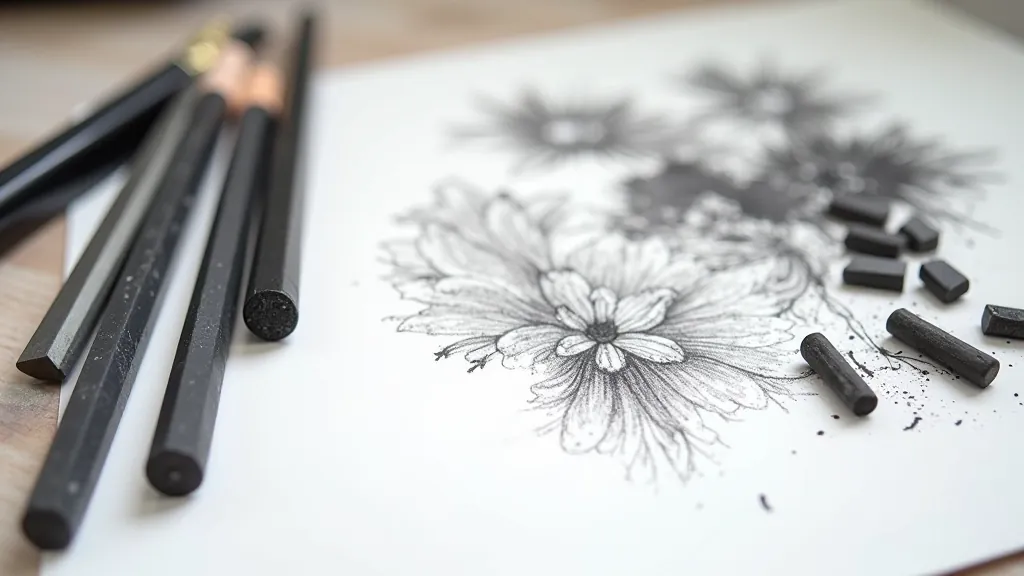
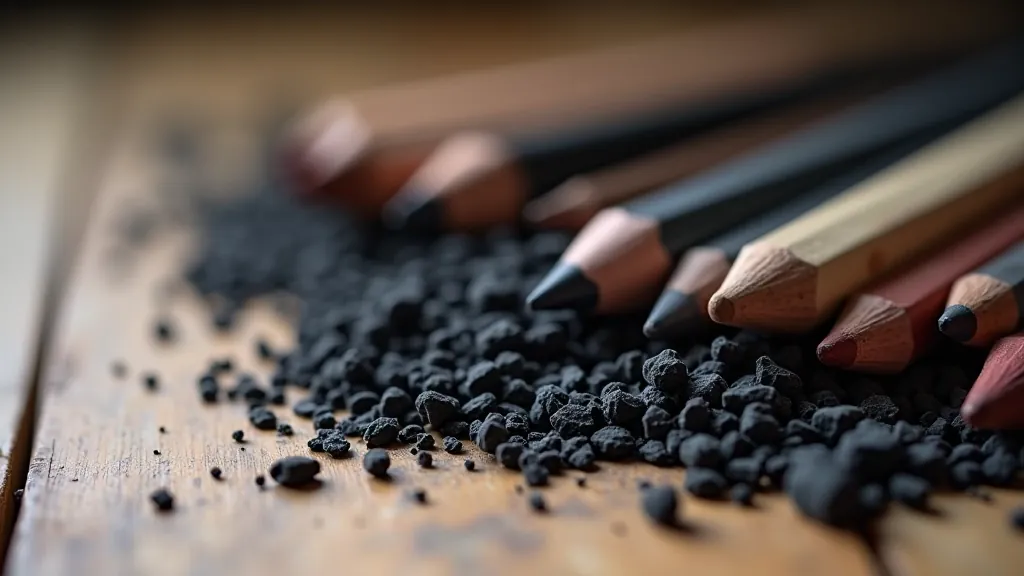
Understanding Charcoal Types
There are three main types of charcoal, and each behaves differently on paper. Knowing which one to use makes a huge difference in your results.
Willow Charcoal
The softest option. It's great for light sketching and initial compositions. Smudges easily, erases cleanly, and doesn't fight you. Perfect when you're laying out your drawing and figuring out proportions.
Compressed Charcoal
Harder and darker than willow. These sticks hold their shape better and give you richer blacks. They're your go-to for building depth and creating those dramatic shadows that make drawings pop.
Charcoal Pencils
Think of these as charcoal with a sharpened point. You get precision when you need it. They're brilliant for detail work, fine lines, and adding finishing touches after you've done your broader blocking in with sticks.
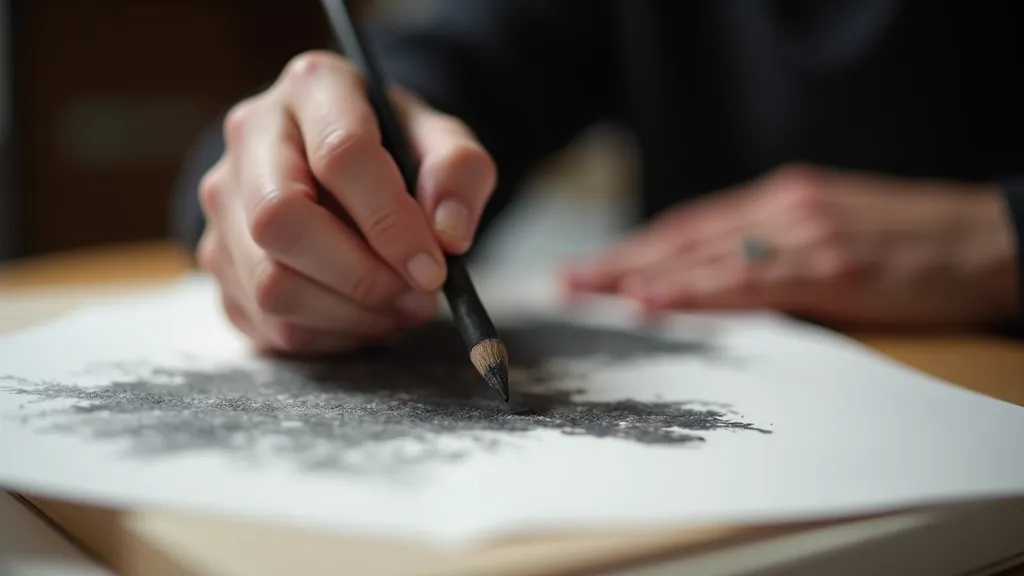
Blending Techniques That Work
Blending's where charcoal really shines. You've got several tools at your disposal, each giving different results.
These tapered paper tools are ideal for controlled blending. You'll use them for detail areas and when you want smooth transitions. They're inexpensive and essential—grab a set of 3-4 different sizes.
Don't underestimate this. Your fingertips give you the most intuitive control and let you feel the paper's texture. Just use a light touch—you're blending, not rubbing away the charcoal.
Soft bristle brushes create larger blended areas quickly. They're brilliant for backgrounds and establishing overall tone before you add details.
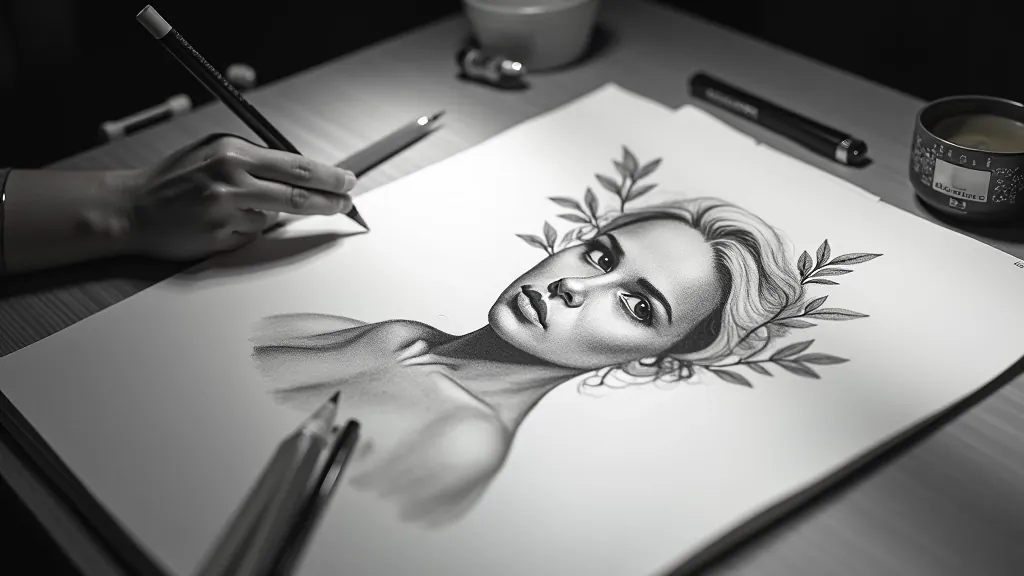
Creating Depth and Dimension
The secret to drawings that feel three-dimensional comes down to values—the range of light and dark tones. Charcoal excels at this because it can go from barely-there light grays to rich, velvety blacks in the same piece.
The Value Scale Matters: Start by creating a simple value scale on scrap paper. Make 5-7 boxes going from pure white to pure black. This trains your eye to see all the tones available to you. Most beginners don't push their darks dark enough, so this exercise is crucial.
When you're drawing, think of three zones: highlights (the lightest areas), midtones (everything in between), and shadows (the darkest areas). Place your lightest lights and darkest darks first—these anchor the entire drawing. Then fill in the midtones. You'll be amazed how much dimension this creates.
Light source matters too. Decide where your light's coming from and stay consistent. If light comes from the top-left, then the right side of your subject stays darker. This logical approach to shadow placement makes drawings feel grounded and believable.
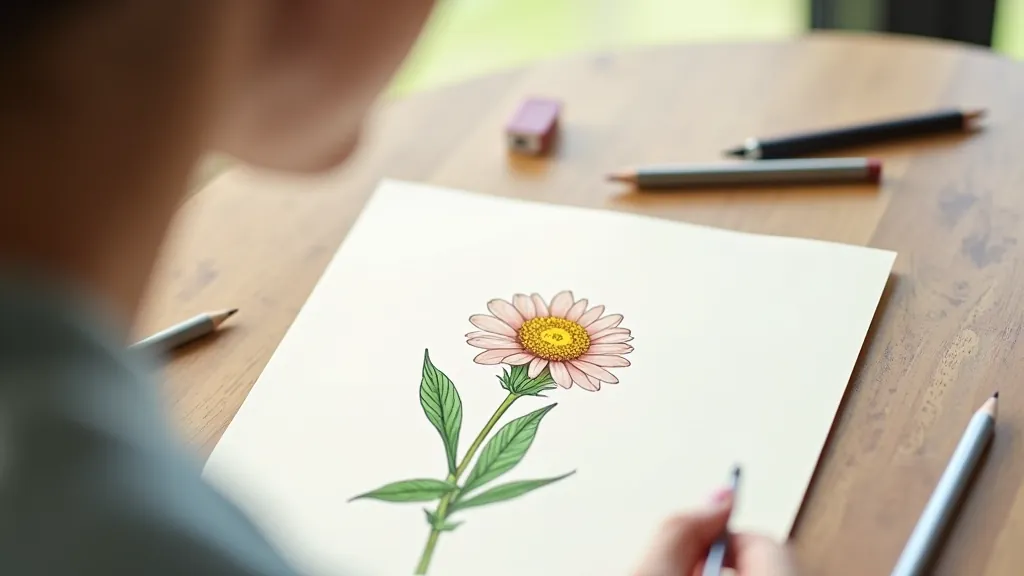
Essential Materials to Get Started
You don't need much to begin. Here's what actually matters when you're starting out:
Paper
Get 100-130 gsm charcoal paper with visible tooth (texture). Brands like Canson or Strathmore work well and won't break the budget. Smooth paper doesn't hold charcoal as effectively, so texture's your friend here.
Charcoal Set
A basic set with willow, compressed, and charcoal pencils costs around €15-25. You'll get variety without overspending. Avoid huge deluxe sets when you're learning—you won't use half of it.
Blending Tools
A set of blending stumps and a kneaded eraser. The eraser's brilliant for lifting charcoal and creating highlights. These two tools cost maybe €5-8 together and you'll use them constantly.
Fixative Spray
Optional but worthwhile. A light coat of fixative prevents smudging once you've finished. One can lasts ages. It's not essential for practice, but it protects finished pieces.
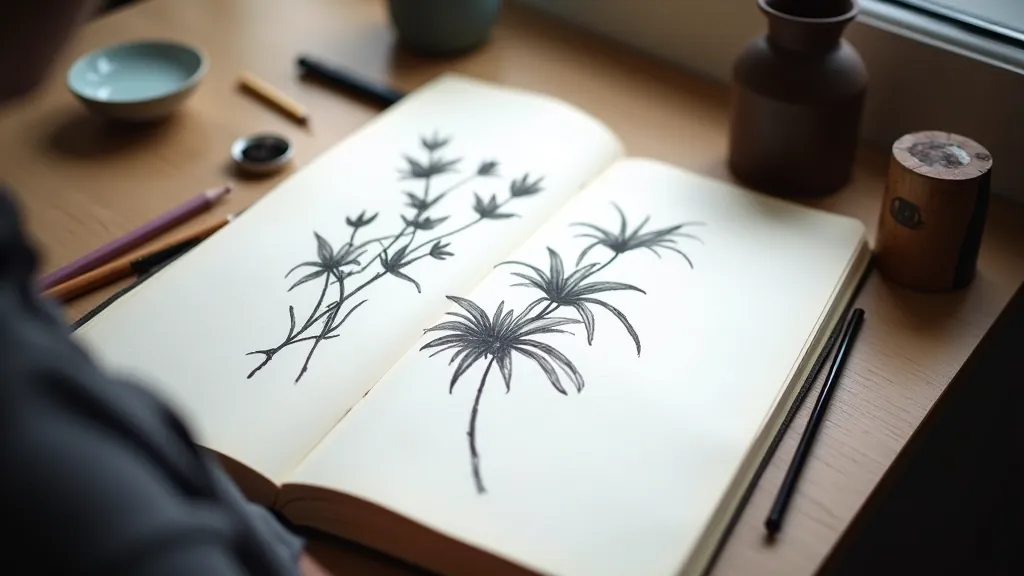
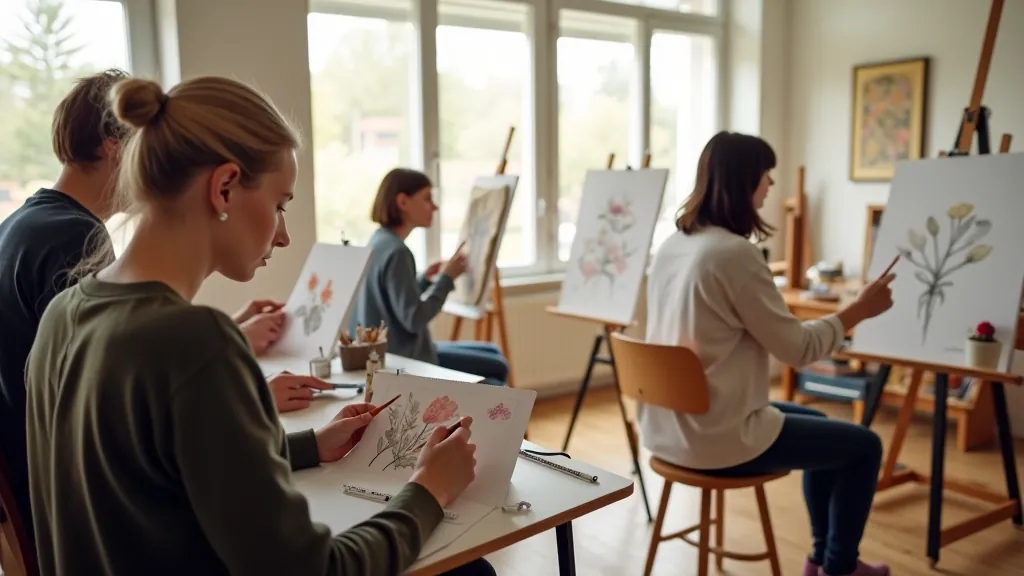
Practice That Actually Builds Skills
The best thing about charcoal? You can practice for 20-30 minutes and see real improvement. That immediate feedback keeps you motivated.
Start with simple objects—an apple, a cube, a cylinder. These teach you value and form without the complexity of portraits or landscapes.
Draw from observation, not imagination. Real objects show you how light actually behaves. You'll learn faster this way.
Do value studies first. Quick 5-minute sketches focusing only on light and shadow, ignoring details. This trains your eye better than anything else.
Keep your finished pieces. In a month you'll see the progress. It's motivating and helps you spot patterns in what works.
Educational Note: This guide is intended for learning purposes and provides general information about charcoal drawing techniques. Individual results vary based on practice, materials quality, and personal skill development. The techniques described here represent common approaches used in art instruction, but drawing is a personal journey and there's no single "right way." Experiment, find what works for you, and enjoy the process of learning.
Start Your Charcoal Journey Today
Charcoal drawing isn't intimidating once you understand the basics. You've got the charcoal types sorted, you know how to blend, and you understand how to build depth with values. That's genuinely all you need to start creating drawings you're proud of.
Grab some paper, a basic set of charcoal, and spend an afternoon practicing. You'll surprise yourself with how quickly the skills develop. The beauty of charcoal is that it's responsive, forgiving, and immediately rewarding. You're not wasting time waiting for results—you'll see them in your first session.
If you're in Rīga or Liepāja and want to learn alongside other artists, there are fantastic community classes and studios. But you can absolutely start at home with just these basics. The only requirement is showing up and putting pencil to paper.